Create Microsoft Azure virtual machines for NGINX Open Source and F5 NGINX Plus
This topic describes how to create Microsoft Azure virtual machines (VMs) to run NGINX Open Source or NGINX Plus.
The names and settings in this document are consistent with Active-Active HA for NGINX Plus on Microsoft Azure Using the Azure Standard Load Balancer, but these VMs can be used for any purpose.
For faster NGINX Plus deployments, you can get a prebuilt VM from the Microsoft Azure Marketplace.
View the Installing NGINX Plus on Microsoft Azure topic for more details.
To complete this guide, you will need the following prerequisites:
- An Azure account.
- An Azure subscription.
- An Azure resource group: in this topic, it is called NGINX-Plus-HA.
- An Azure virtual network.
rootaccess orsudoprivilege on your preferred host
If you wish to use NGINX Plus, you will need an NGINX Plus subscription (Paid or trial).
To begin, log in to the Microsoft Azure portal.
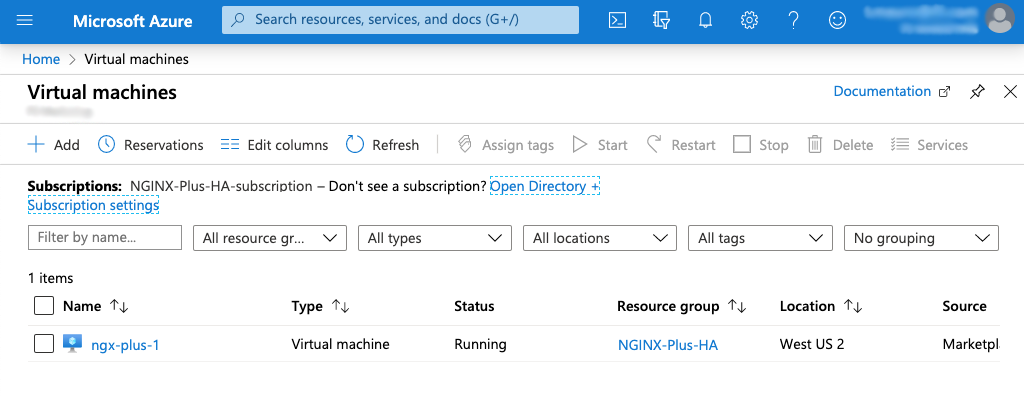
Then select Virtual machines from the landing page of the Microsoft Azure portal, or the menu in the top-left corner of the page.
On the Virtual machines page, select + Add in the upper left corner.

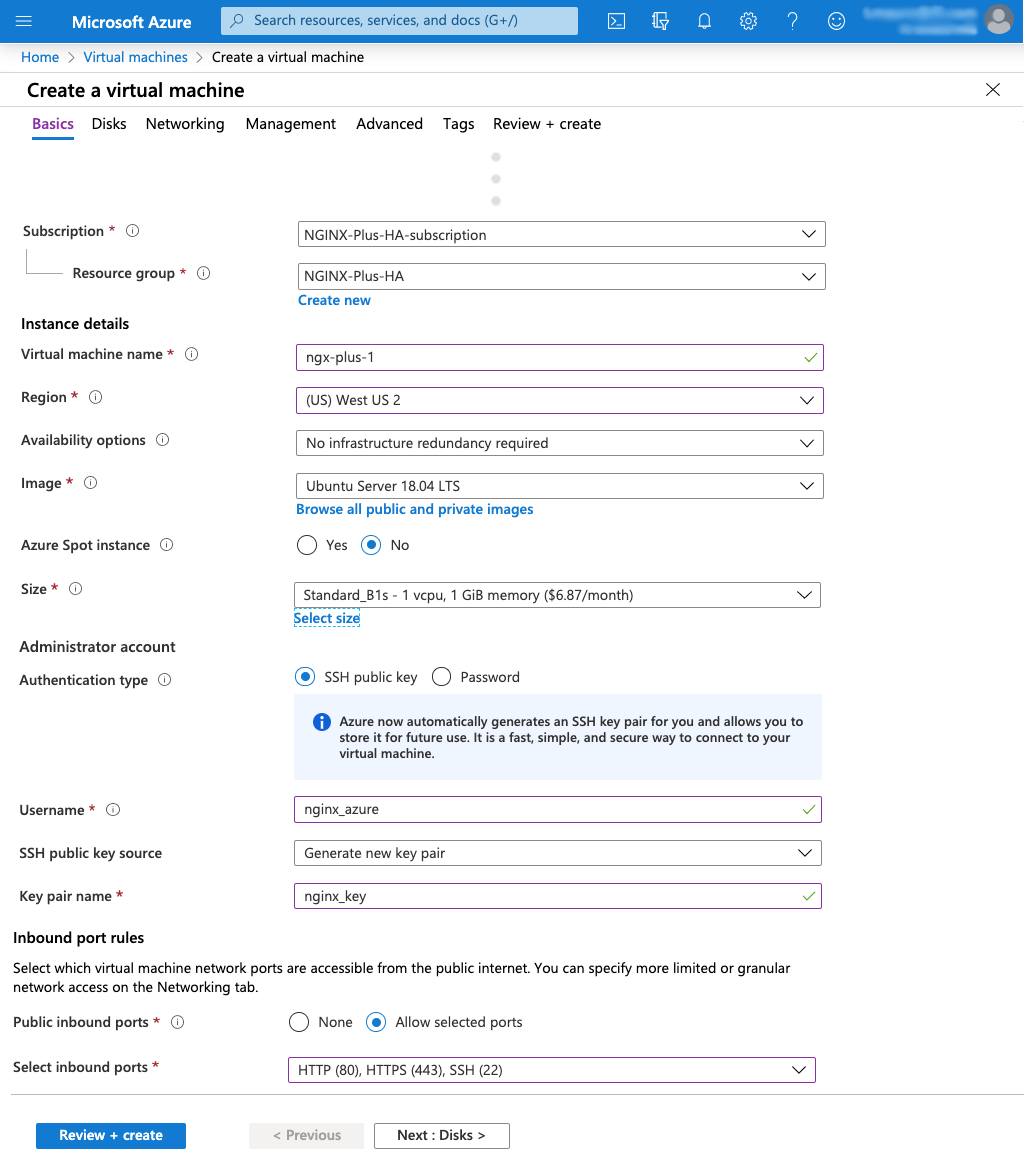
In the Create a virtual machine window that opens, enter the following information on the Basics tab:
| Name | Value |
|---|---|
| Subscription | NGINX-Plus-HA-subscription |
| Resource group | NGINX-Plus-HA |
| Virtual machine name | ngx-plus-1 (1) |
| Region | (US) West US 2 |
| Availability options | No infrastructure redundancy required (2) |
| Image | Ubuntu Server 18.04 LTS |
| Azure Spot instance | No |
| Size | B1s (3) |
| Authentication type | SSH public key |
| Username | nginx_azure |
| SSH public key source | Generate new key pair |
| Key pair name | nginx_key |
| Public inbound ports | Allow selected ports |
| Select inbound ports | (4) |
- The value ngx-plus-1 is one of the six used for VMs in Active-Active HA for NGINX Plus on Microsoft Azure Using the Azure Standard Load Balancer.
- This option is suitable for testing. For production deployments we recommend deploying a copy of each VM in a different Availability Zone.
- Select Select size to access the Select a VM size window, choose the B1s row, and press the Select button to return to the Basics tab.
- Select SSH (22) and HTTP (80) from the drop-down menu. You should also select HTTPS (443) if you plan to configure NGINX and NGINX Plus for SSL/TLS.
Once you have filled out the information of the Basics tab, select the Networking tab underneath the page heading.
Select Create new below the Public IP field, then select the Standard Radio button under SKU inn the Create public IP address column that opens.
In the Name field, accept the default created by Azure, ngx-plus-1-ip, and confirm it by selecting Ok.
If you are creating VMs to use with Active-Active HA for NGINX Plus, the two VMs must have public IP addresses with SKU type Standard instead of the default Basic.
If you’re creating 6 VMs for Active-Active HA for NGINX Plus, use the following names:
- ngx-plus-1
- ngx-plus-2
- ngx-oss-app1-1
- ngx-oss-app1-2
- ngx-oss-app2-1
- ngx-oss-app2-2
For ngx-plus-2, repeat the previous steps or get a pre built VM from the Microsoft Azure Marketplace).
For the ngx-oss-*, you can create each VM manually or follow the Create an NGINX Open Source image steps to clone additional copies.

Before continuing, there are some values you may wish to change from the default under the Disks, Networking, Management, Advanced, and Tags tabs.
By default, Azure assigns Premium SSD for the OS disk on the disk tab, but you can choose a cheaper option like Standard HDD.
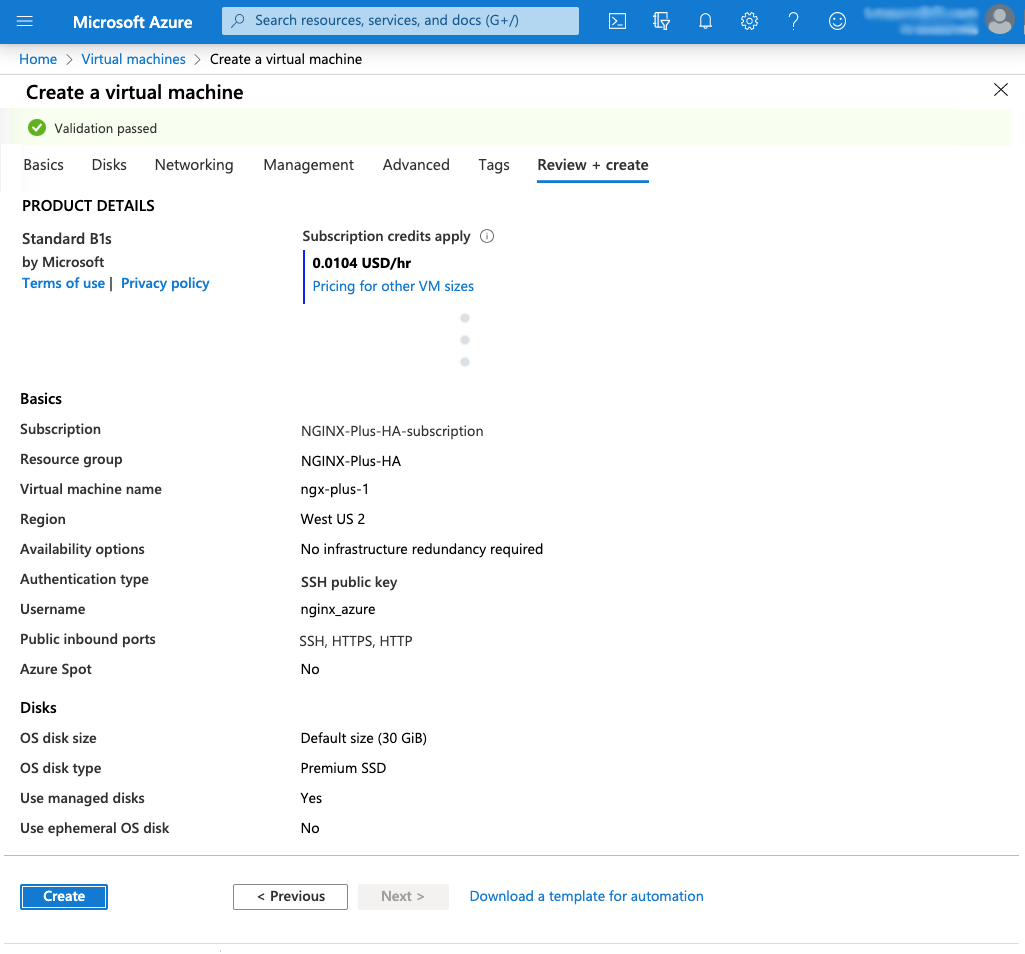
After you’ve completed your changes, select Review + create at the bottom of the Create a virtual machine page.
Your settings will be summarized under the Validation passed banner. Ensure they’re correct, then select Create.
Based on the setting in the Basics tab, a Generate new key pair window will appear. Select Download key and create private resource.
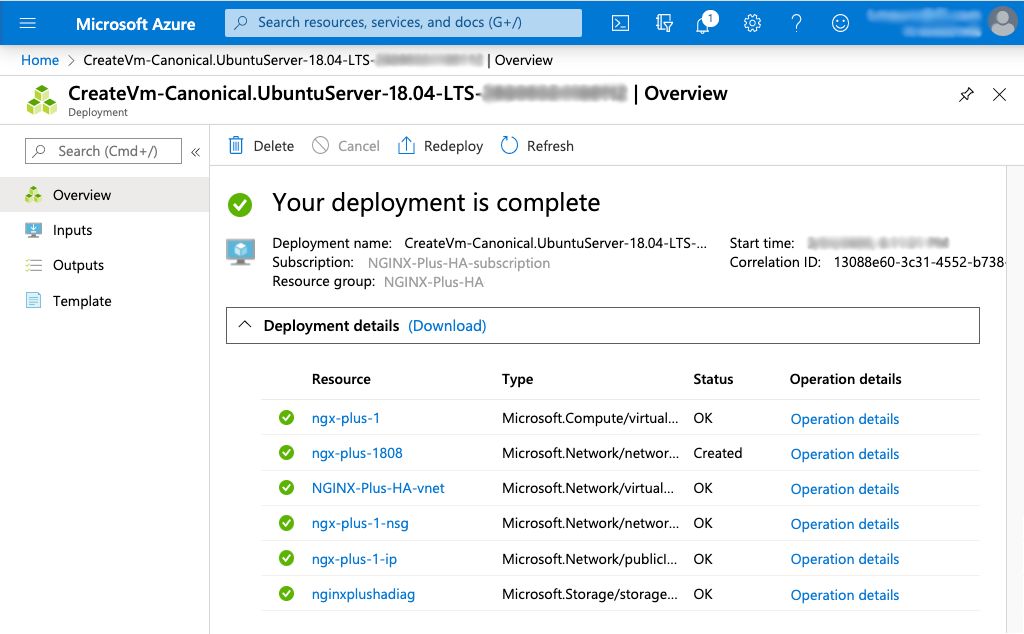
The VM deployment will take a few minutes, after which you will see a summary of your resources.
To install and configure NGINX Open Source or NGINX Plus on a VM, you will need to connect to the VM with SSH.
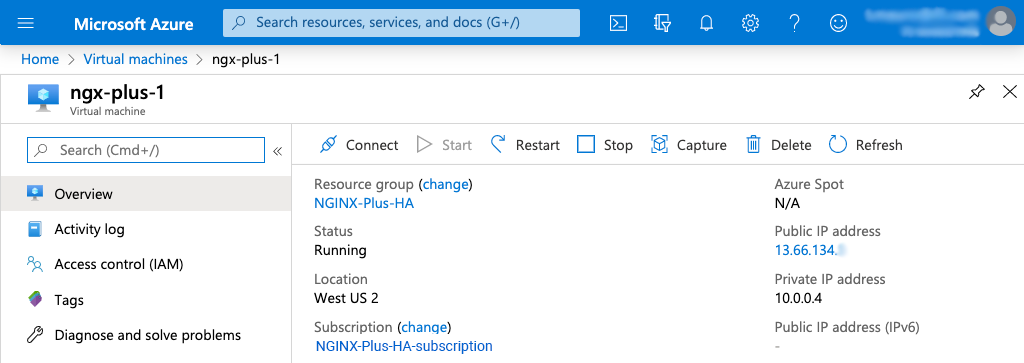
Go to the Virtual machines page on the Azure dashboard and click the VM’s name in the Name column of the table.
On the page that opens (ngx-plus-1 in this example), note the VM’s public IP address (In the Public IP address field in the right column).
Run this command to confirm an SSH connection to the VM:
ssh -i <private-key-file> <username>@<public-IP-address><private-key-file>contains the private key paired with the public key you entered in the SSH public key field during Create a Microsoft Azure virtual Machine<username>is the name you entered in the Username field during Create a Microsoft Azure virtual Machine. In this example, it is nginx_azure.<public-IP-address>is the address you found during the previous step.
After you’ve successfully connected to your Azure VM, you can install NGINX Open Source or NGINX Plus on it.
For Chef and Puppet, see the following articles on the NGINX blog:
NGINX provides automatic setup files for Open Source and Plus versions on Ansible Galaxy and GitHub.
The following instructions use the apt package manager, and should be adapted to your operating system.
You should first connect to the virtual machine, then install Ansible:
apt update
apt install python-pip -y
pip install ansible
Once Ansible is installed, you can use ansible-galaxy to install the official Ansible role from NGINX:
ansible-galaxy install nginxinc.nginxIf you are using NGINX Plus, at this stage you should copy the nginx-repo.key and nginx-repo.crt files from MyF5 to ~/.ssh/ngx-certs/.
Create a file called playbook.yml with the following contents:
---
- hosts: localhost
   become: true
   roles:
      - role: nginxinc.nginx
Then use ansible-playbook to run it:
ansible-playbook playbook.ymlIf you’ve Installed NGINX Open Source correctly on one VM, you can save it as an Azure template to make additional copies, avoiding the need to follow the full installation process.
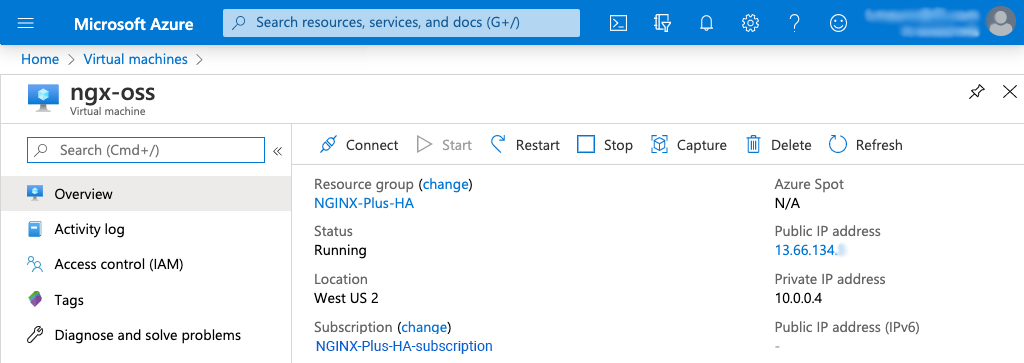
Navigate to the Virtual machines page, then select the name of the VM to use as a source image in the list (Named ngx-oss in this example).
On the details page that opens, select the Capture icon in the top navigation bar.
If you use one of the VMs you created in Create a Microsoft Azure virtual machine as the source for the image, you will need to re‑create a VM with that name.
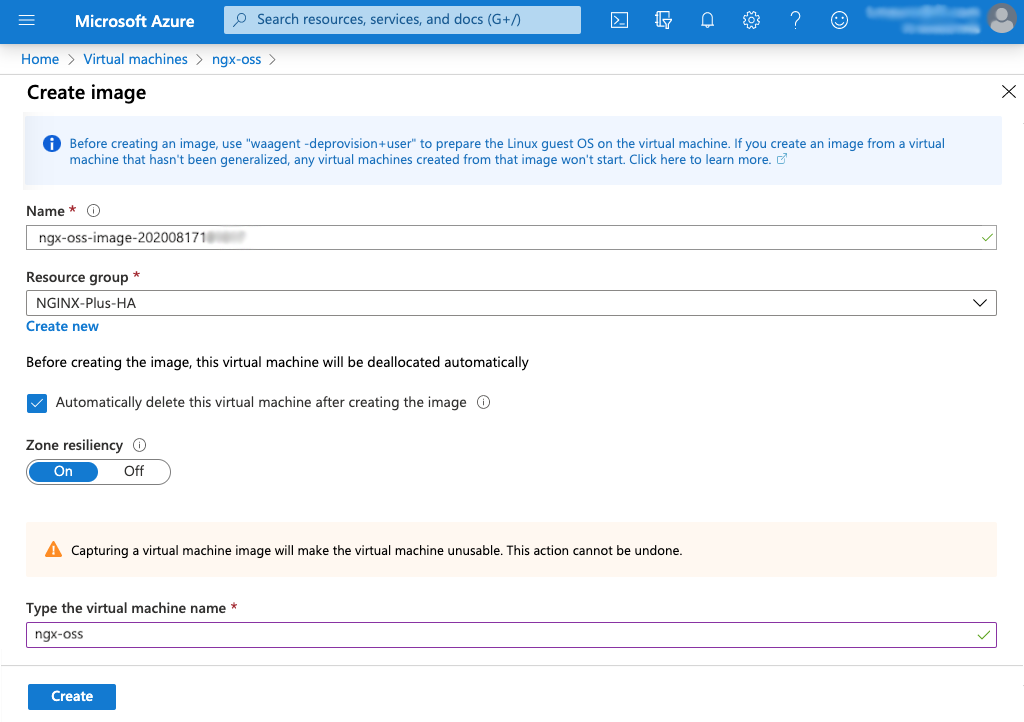
Then edit the following values:
- Name – Keep the current value.
- Resource group – Select the appropriate resource group from the drop‑down menu (NGINX-Plus-HA)
- Automatically delete this virtual machine after creating the image – Yes
- Zone resiliency – On
- Type the virtual machine name – Name of the source VM (ngx-oss in this guide)
After reviewing the changed values, select the Create button.
Once the Azure image has been deployed, you can use it to create VMs with NGINX Open Source pre-installed.
Navigate to the Images page of the Microsoft Azure portal.
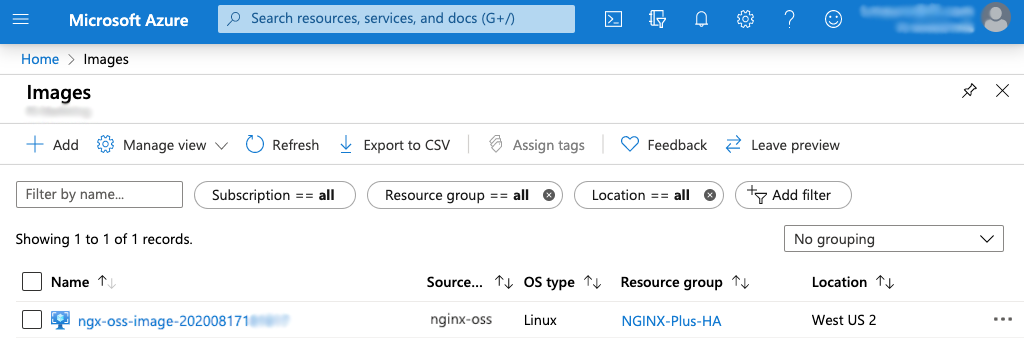
Select the image name in the table, then select + Create VM at the top of the main screen of the next page.
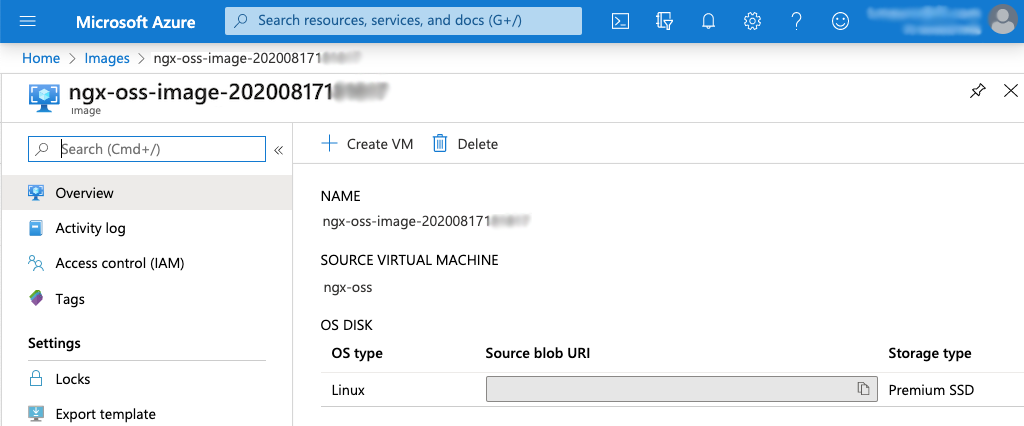
The Create a VM page is identical to the one from Create a Microsoft Azure virtual machine, but will have some pre-filled fields from your image.
For example, the Image field now shows the image name instead of an operating system.
You can continue finishing the VM creation process as normal from here, re-using the image whenever necessary.